Using Off Camera Flash During Golden Hour
Yes, you CAN mix flare/golden hour with off camera flash!
Light changes rapidly during golden hour, and being able to make the most of it helps take your images to the next level!
Here are some quick tips for creating portraits during golden hour with off camera flash, along with some final edits from my last maternity session!


Golden hour in summer is typically around 2 hours before sunset time.
A great app for tracking best light is called PhotoPills. It will also break down how many minutes you have to capture that magic light.
What causes golden hour is the angle of the sun’s rays to camera. As it moves lower in the sky, it causes haze/flare and changes color temperature.
Some areas with trees or buildings may have a “golden hour” slightly before open areas. Higher objects in the scene mean that the ideal angle will happen as the sun is just breaking over the top of them. Scouting the location ahead of time will help plan what will work best!
Flare is created by catching the light at the top edge of your lens.
When the light hits the lens at an angle, it scatters across the surface of the lens, creating a haze or flare. Because lens hoods are created to BLOCK this from happening, if you are trying to get intentional flare, take it off!
The best way to experiment with creating flare is to stay in one spot, and gently tilt your camera back and forth to watch for the right angle. You may also stand up/lower yourself to the ground.
DO NOT point your camera directly at the sun—unless you want a bright white/blown area (or eye damage if you have a DSLR!). The trick is to catch the EDGE of the sun’s rays, not full on blasting light!


Watch your highlights.
The brightest parts of the image are where your eye will go first in an image. If the highlights are overexposed, it can be distracting. It also means when you print the image, there is no detail in these areas, and it will be a blank place with no ink. Not every image of mine is perfectly exposed, but I keep these areas as small as possible when I can!
Typically at golden hour, the brightest part of the image on your subject will be the hair light. Turn on your camera’s “highlight alert” to help keep you in range. (Another blog post to come on this setting, which I believe is the most underrated feature a camera has!).
Use the right lighting tools.
Golden hour light is powerful, and you need the right off camera lighting setup to make the most of it.
Speedlights do not have enough power at this time of day to get results like I have here. You need a more powerful strobe to bring enough light into the shadows.
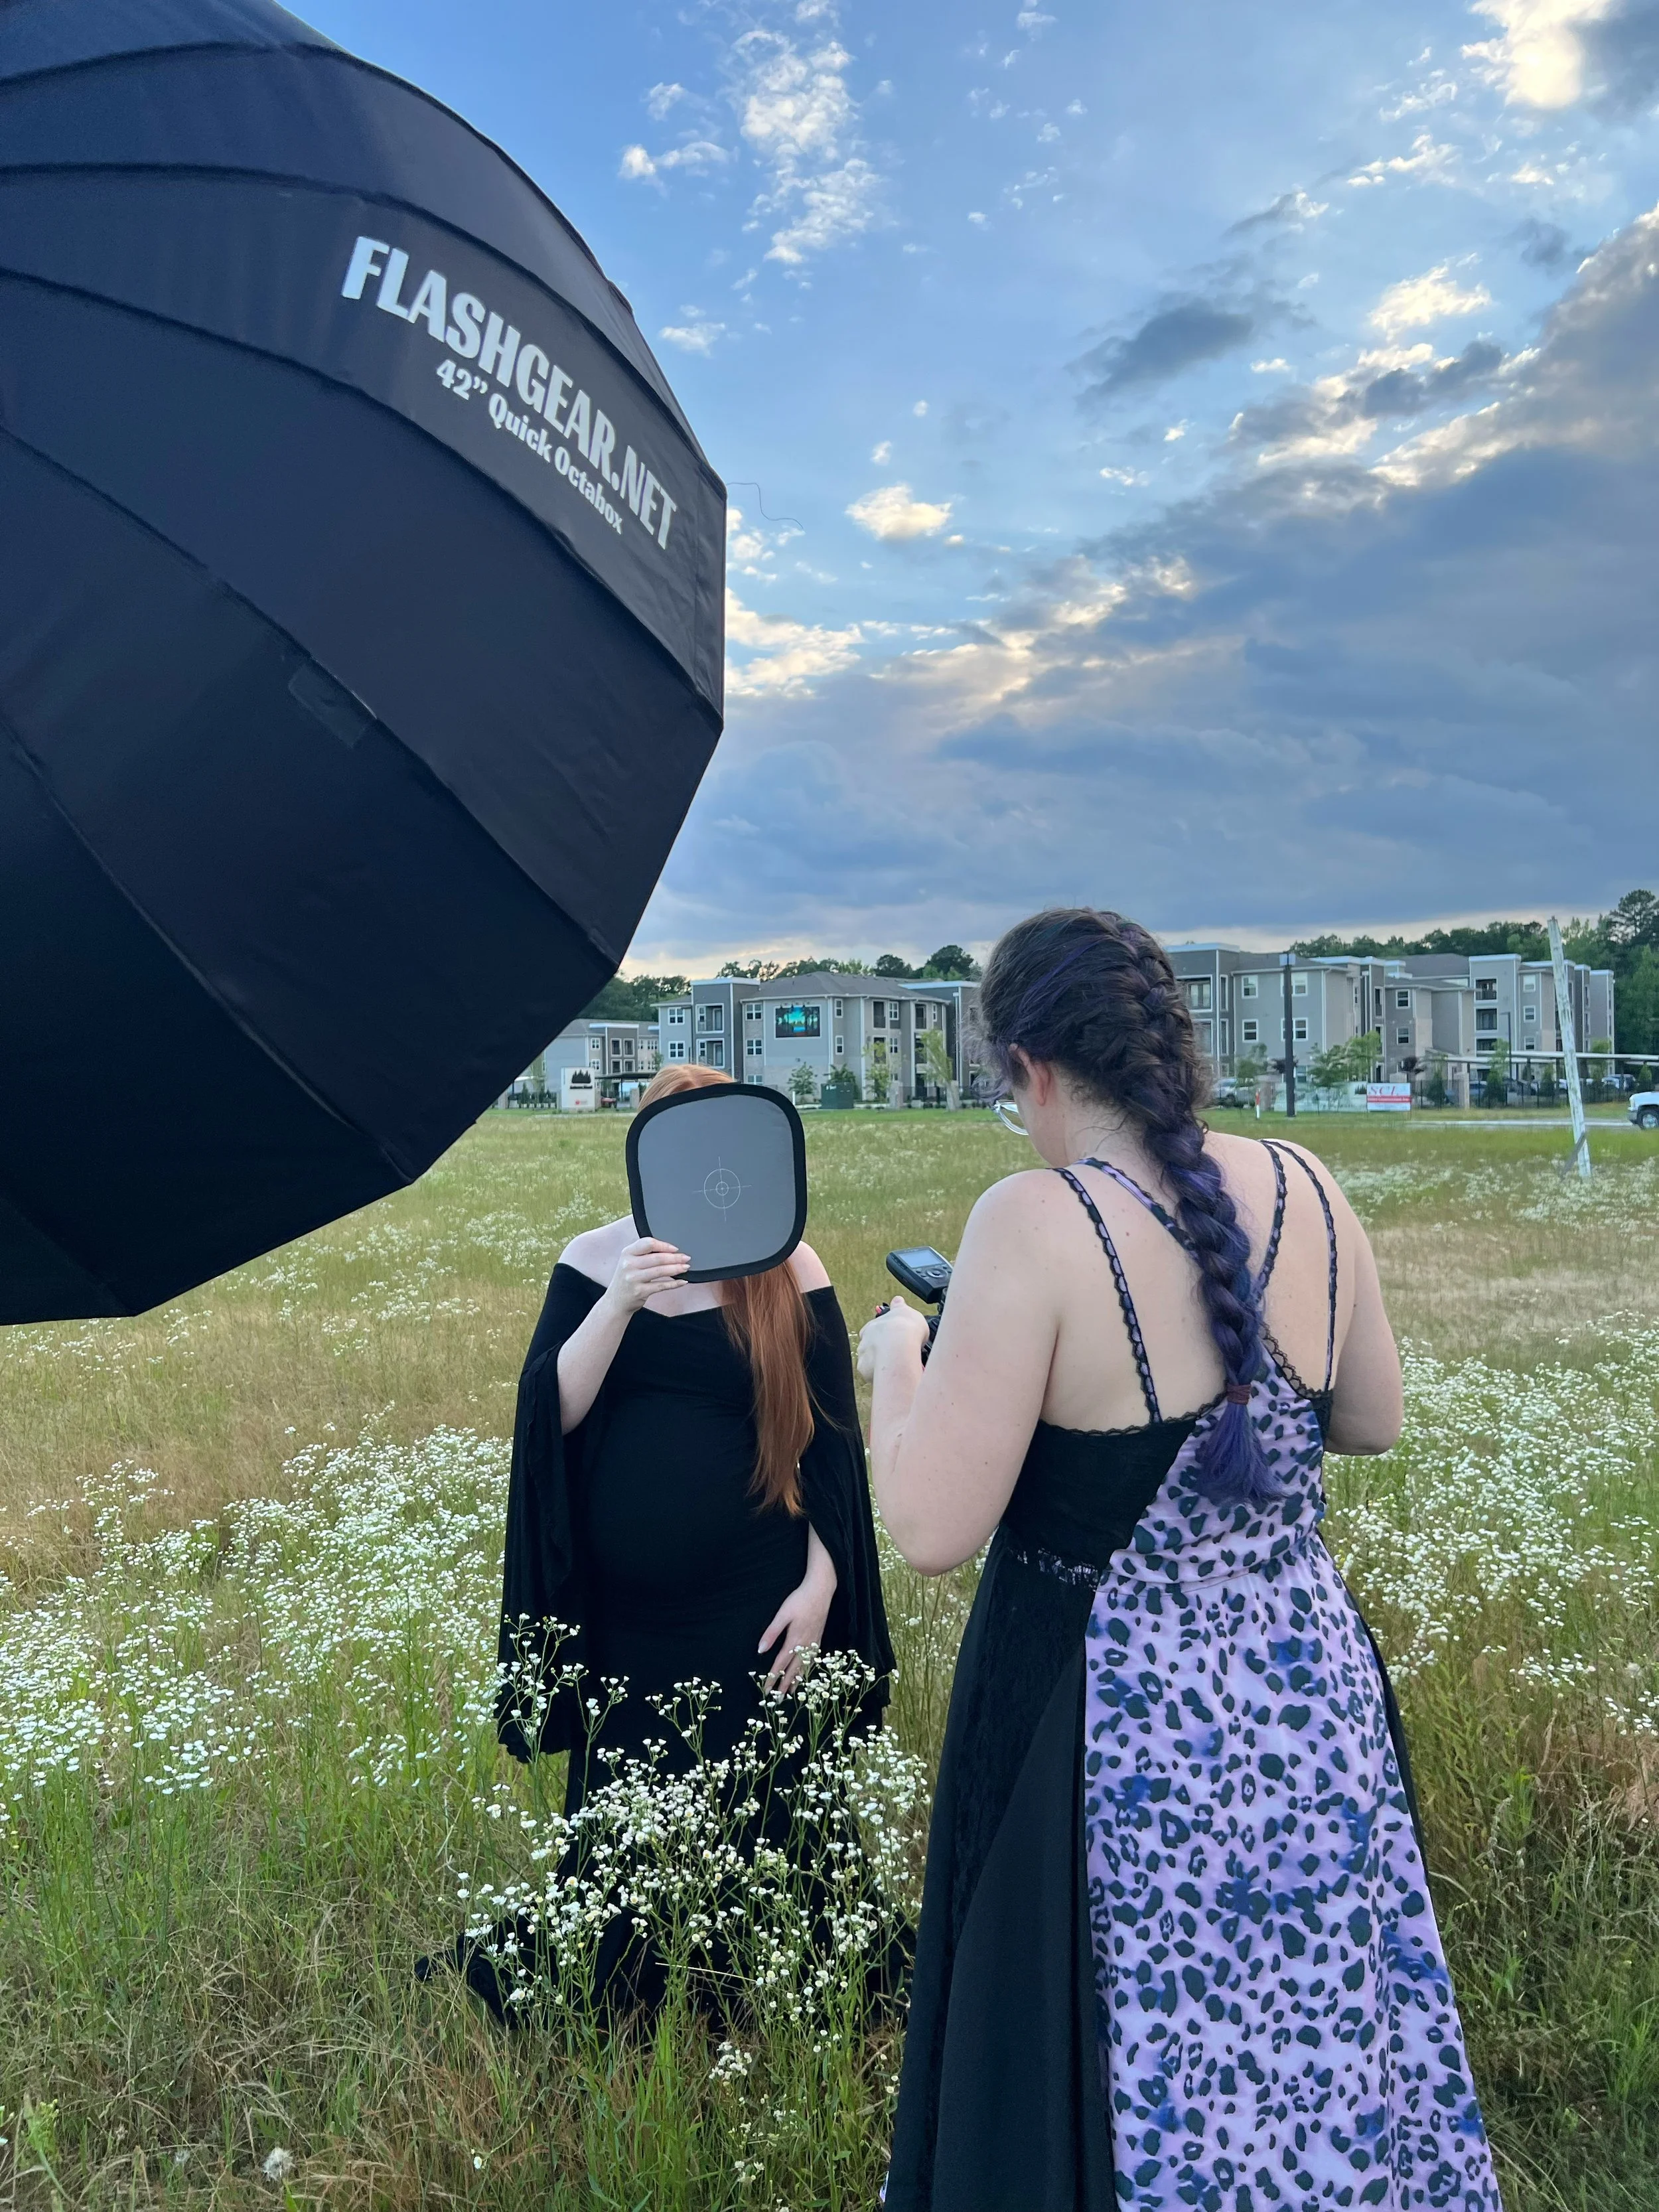
My go to light for golden hour is the Westcott FJ400. For softer, balanced fil I pair it with the Flashgear 42” Quick Octabox. I use the gray card method to set exposure for the most part, but also include artistic shots for fun!
Using the gray card to set exposure…a foundation I teach at workshops across the country!
Embrace the drama!
When the sun’s rays are brightest at golden hour, the shadows will ALWAYS be dark and dramatic.
Using ONE light will not lift the shadows, no matter how large your modifier may be. One light controls the main exposure of your subject.
If you want lighter shadows, you have to wait for the ambient light to change and become softer, or add a reflector/second light for shadow control. (That’s a deep dive for advanced workshop!) This isn’t a good or bad thing, it’s just understanding what you need to get the look you want for your images!


Settings for this session:
ISO 100
f/2
Shutter speed between 1/200-1/400
Created with my Fujifilm GFX100s and GF110mm lensEquipment used:
LIGHT // FJ400
MODIFIER // Flashgear 42" Quick Octabox (white)
If you have any questions about learning how to use off camera flash with your photography, or what to invest in as you build your kit, please reach out! I’m happy to help get you started on a path of embracing the light and telling your own stories with light! -Julie
Special thanks to my studio manager Shauna Raduske for the behind the scenes and fun on set, as always!


